Introduction:
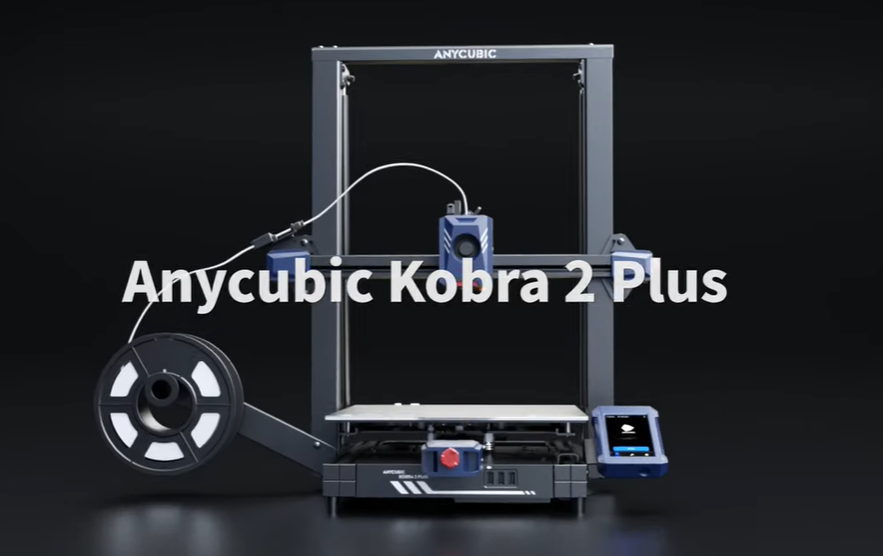
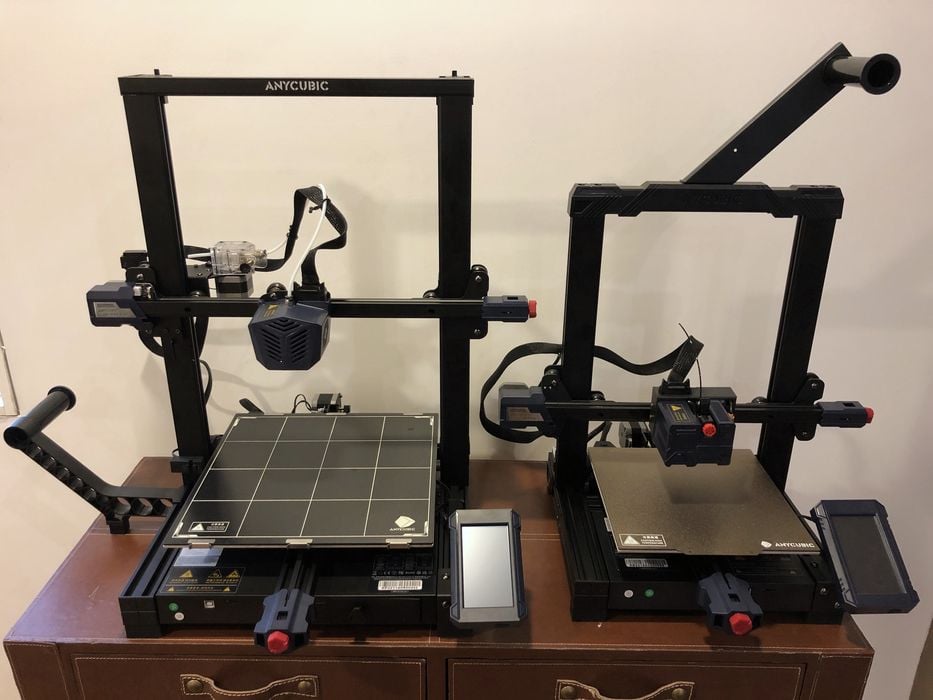
The Anycubic Kobra 2 Plus is an advanced 3D printer that offers high-quality printing and a user-friendly experience. This comprehensive guide will walk you through the setup process and provide valuable insights on how to use this printer effectively. By following these steps, you will be well-equipped to maximize the potential of your Anycubic Kobra 2 Plus and create stunning 3D prints.
Step 1: Unboxing and Assembly:
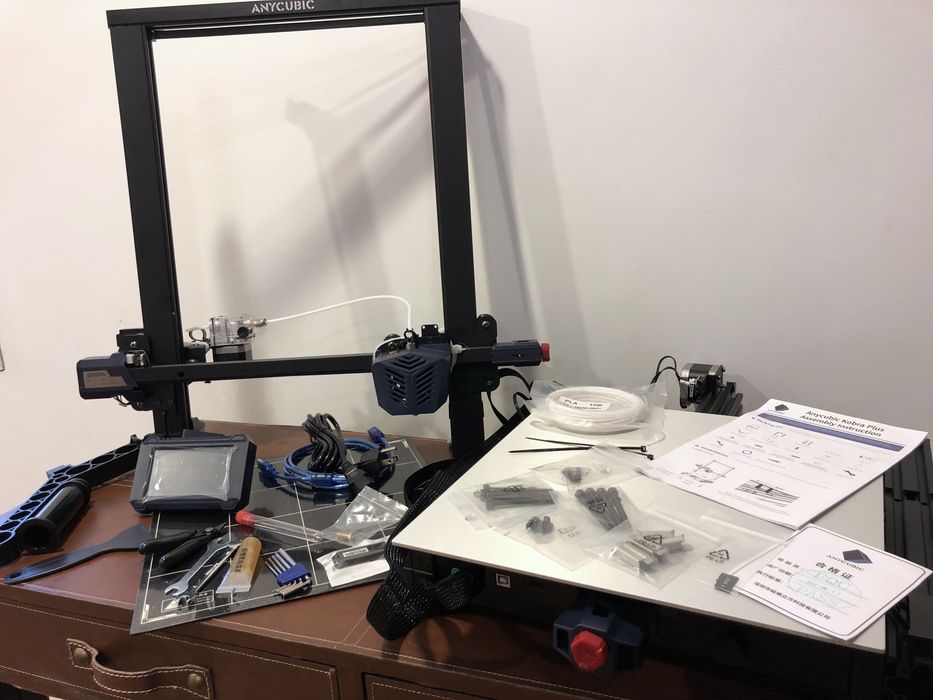
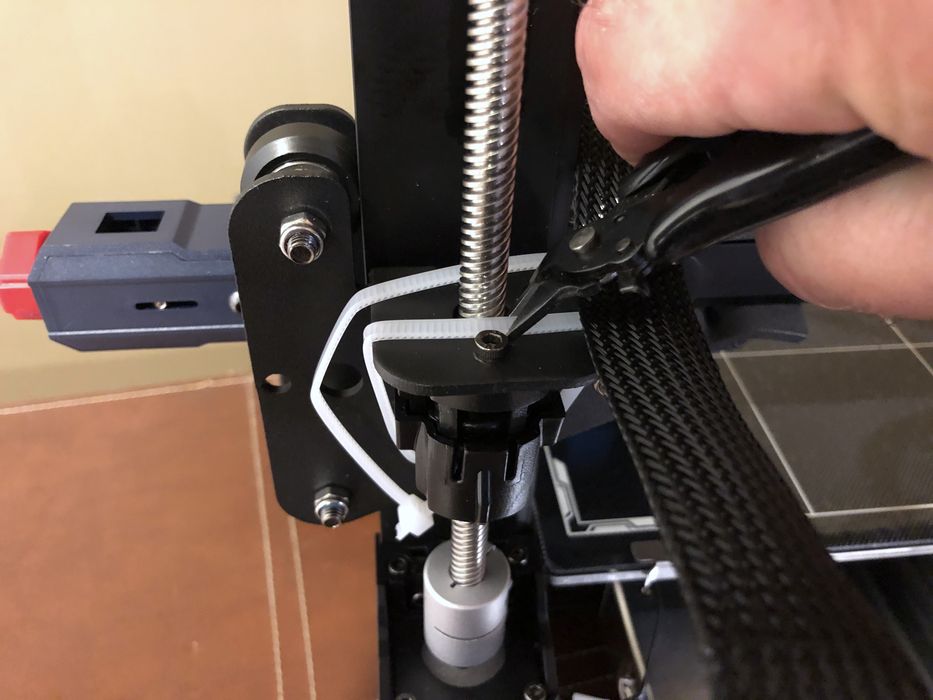
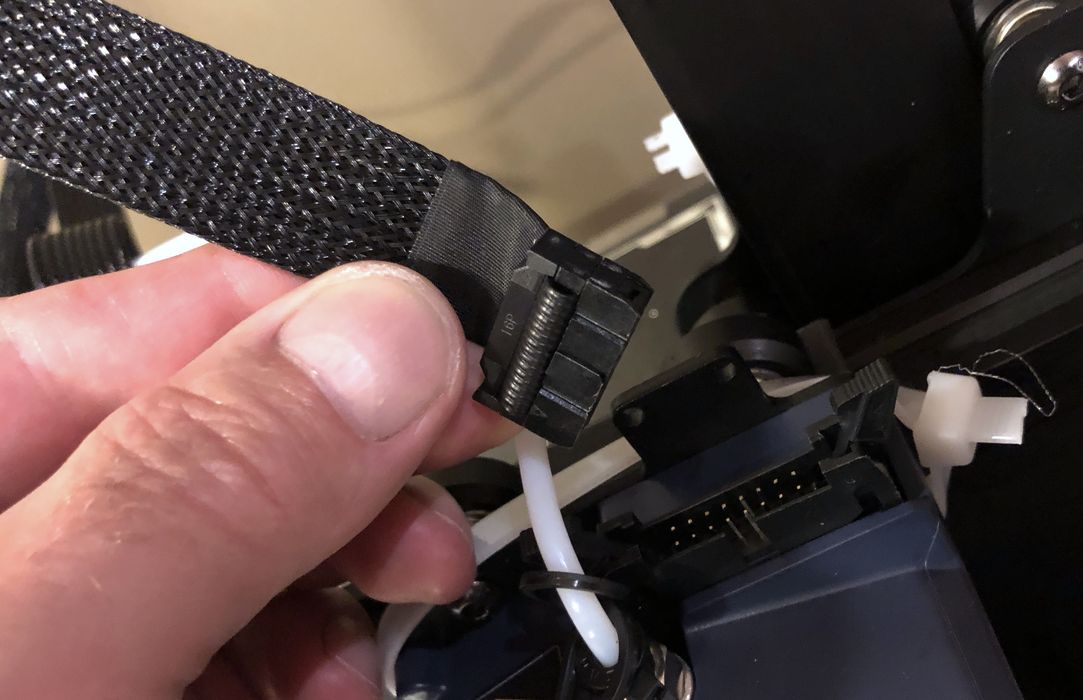
Start by unpacking all the components of your Anycubic Kobra 2 Plus. Ensure that everything is included and undamaged. Follow the provided instruction manual, which offers clear and concise assembly guidelines. The assembly process is straightforward, with detailed illustrations guiding you through each step. Take your time to assemble the printer securely, ensuring all connections are tight.
Step 2: Leveling the Bed:
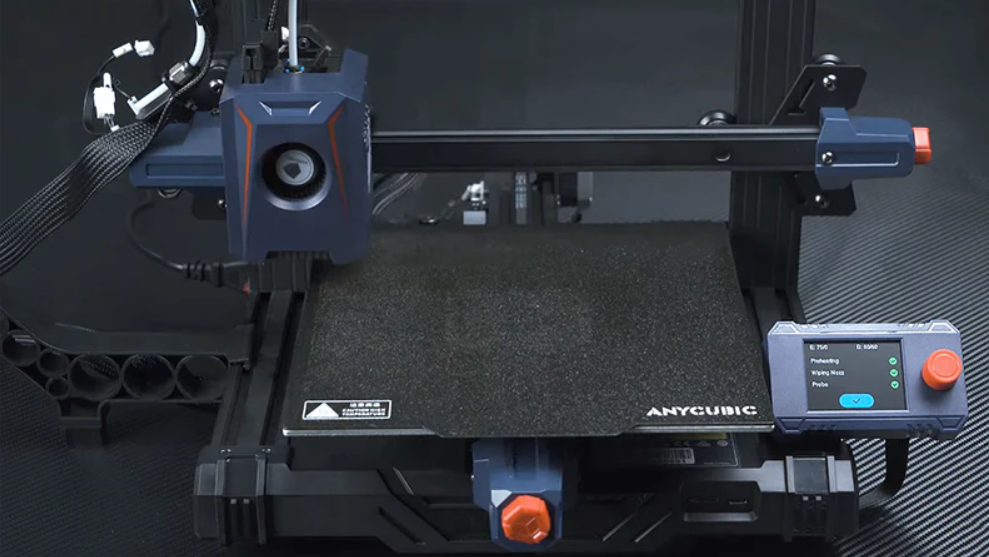
Accurate bed leveling is crucial for successful prints. The Anycubic Kobra 2 Plus features an automatic bed leveling system, simplifying the process. Activate the bed leveling function according to the instructions provided. The printer will then adjust the bed height automatically, ensuring a level surface for printing. Regularly check and calibrate the bed to maintain optimal printing conditions.
Step 3: Loading Filament:
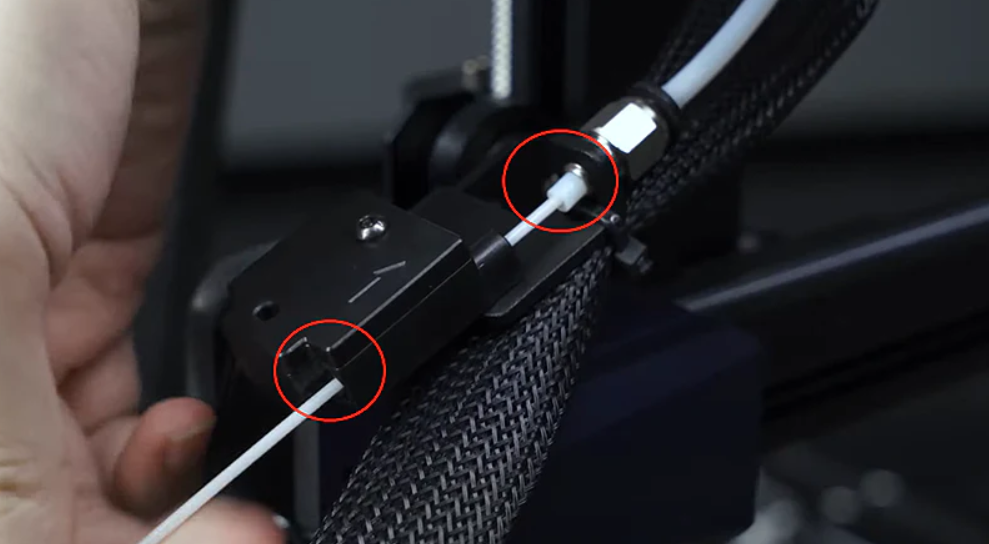
To start printing, load filament into the Anycubic Kobra 2 Plus. Open the filament compartment and insert the filament spool. Follow the step-by-step instructions to feed the filament into the extruder. Once the filament is properly inserted, the printer will guide you through the loading process. Ensure that the filament is securely seated to prevent any feeding issues during printing.
Step 4: Preparing the Print File:
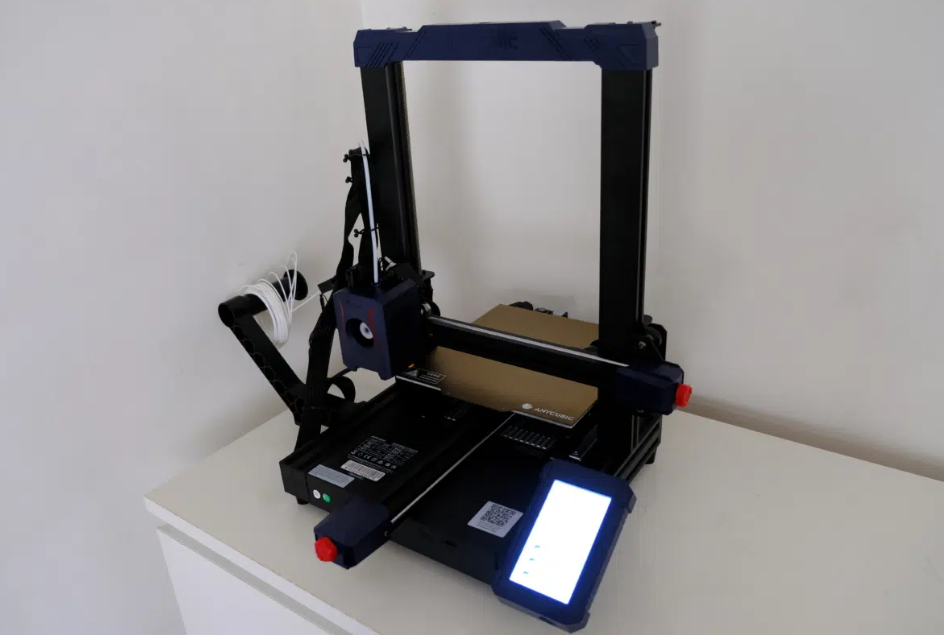
Prepare your 3D model file using compatible software such as Anycubic Slicer or Cura. Import your model into the software and adjust the settings to meet your desired print requirements. Pay attention to parameters such as layer height, print speed, and infill density. Generate the G-code file that will be used by the printer to execute the print.
Step 5: Initiating a Print:
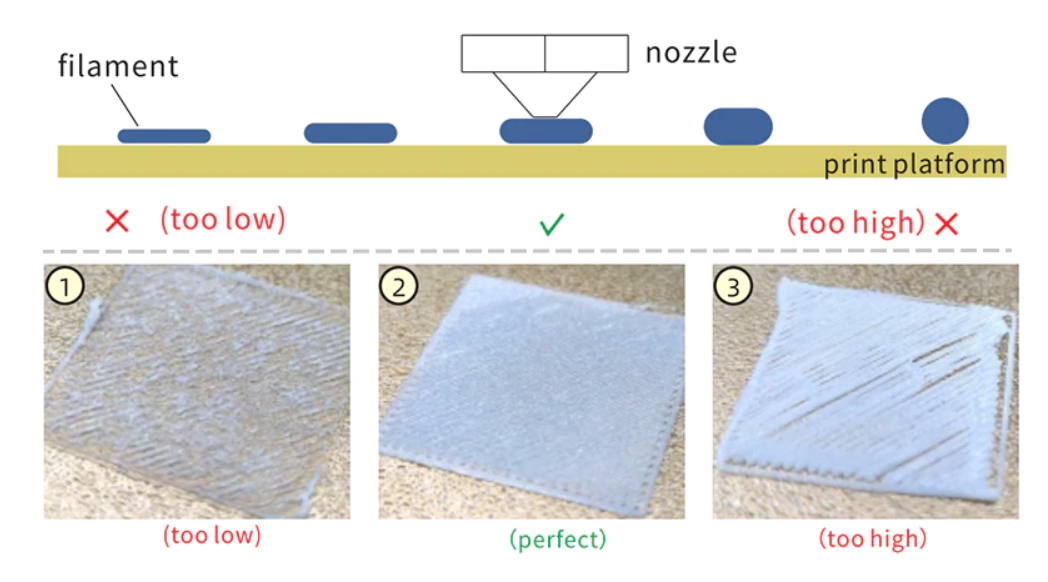
Transfer the generated G-code file to the Anycubic Kobra 2 Plus using a USB connection or the built-in SD card slot. Ensure that the printer is turned on and properly connected. Navigate the printer’s interface to select the desired file for printing. Review the print settings on the display and make any necessary adjustments. Once ready, initiate the print and monitor the progress as your creation takes shape.
Step 6: Post-Processing and Maintenance:
Once the print is complete, carefully remove the printed object from the build plate. Perform any necessary post-processing, such as removing support structures or sanding rough edges. Regularly inspect and clean the printer, ensuring that the nozzle and other components are free from debris. This will help maintain the printer’s performance and extend its lifespan.
Watch introduction video here:
Conclusion:
By following this comprehensive setup and usage guide, you can confidently set up and operate your Anycubic Kobra 2 Plus 3D printer. From assembly and bed leveling to filament loading and print file preparation, these steps will ensure a smooth and successful printing experience. With proper care and maintenance, your Anycubic Kobra 2 Plus will consistently deliver outstanding 3D prints, allowing you to unleash your creativity to its fullest extent.


