Introduction:
The Anycubic Kobra 2 Pro is a remarkable 3D printer that offers a wide range of features and functionalities. In this step-by-step guide, we will walk you through the process of setting up and effectively utilizing the Anycubic Kobra 2 Pro to unleash your creativity and bring your ideas to life. Let’s dive in!

Step 1: Unboxing and Initial Setup:
- Carefully unbox the Anycubic Kobra 2 Pro and ensure that all the components are present.
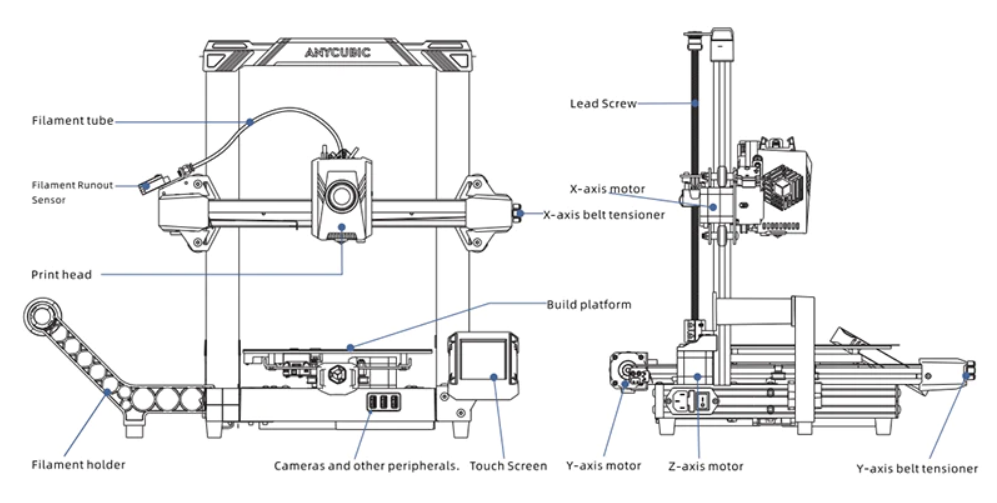
- Follow the detailed instruction manual provided to assemble the printer. The intuitive design makes the process straightforward.
- Connect the power cord to the printer and plug it into a reliable power source.
- Power on the printer and proceed to the next step.
Step 2: Leveling the Build Plate:
- Access the printer’s menu by tapping on the 4.3-inch color touchscreen.
- Navigate to the “Prepare” menu and select “Leveling.”
- Follow the on-screen instructions to adjust the four leveling knobs until the build plate is perfectly leveled.
- Confirm the leveling by selecting “Save Settings” in the menu.

Step 3: Loading the Filament:
- Preheat the printer by selecting “Preheat” from the “Prepare” menu.
- Once the desired temperature is reached, select “Load Filament” from the menu.
- Cut the end of the filament at a slight angle and insert it into the filament input port.
- Push the filament gently until it feeds into the extruder and extrudes from the nozzle.
- Once filament is extruding smoothly, select “Stop” in the menu.
Step 4: Adjusting Printer Settings:
- Access the printer’s menu and navigate to “Settings.”
- Adjust settings such as print speed, layer height, and temperature to suit your specific printing needs.
- Take note of the recommended settings for different filaments to achieve optimal print quality.
Step 5: Preparing and Initiating a Print:
- Design or download a 3D model on your computer using a slicing software such as Cura or Simplify3D.
- Save the sliced file in the supported format (usually .gcode) onto an SD card.
- Insert the SD card into the printer’s card slot.
- Access the printer’s menu and select “Print from SD card.”
- Locate the sliced file and select it to initiate the print.
- Monitor the progress on the touchscreen and enjoy watching your creation come to life!
Step 6: Post-Printing:
- Once the print is complete, carefully remove the finished object from the build plate.
- Clean the build plate and remove any residual filament using a spatula or scraper.
- Store the filament in a cool and dry place to maintain its quality.
Detailed Assembly Video Tutorial for Anycubic Kobra 2 Pro
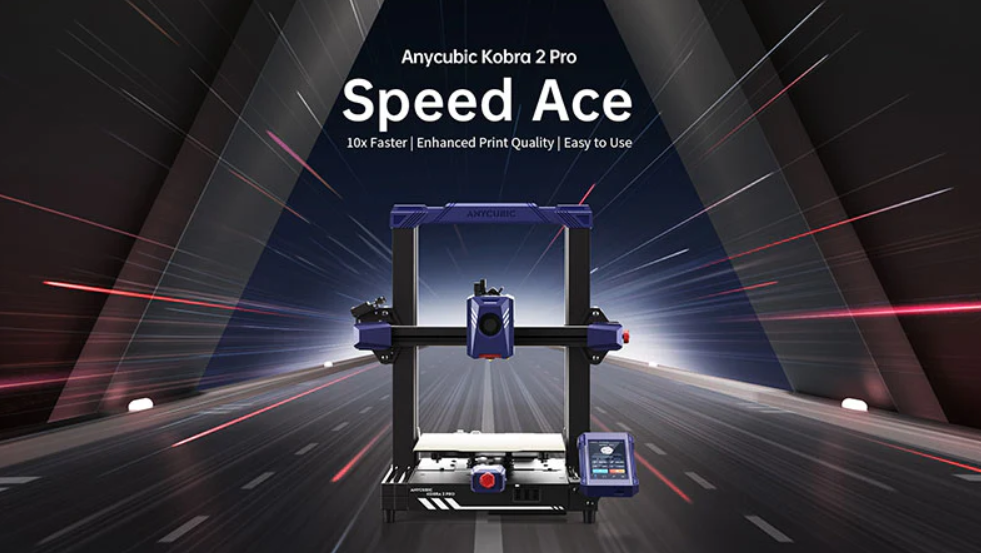
Anycubic Kobra 2 Pro- Speed Ace -10x Faster | Quality Printing | Easy to Use
Conclusion:
By following this step-by-step guide, you can easily set up and utilize the Anycubic Kobra 2 Pro for your 3D printing projects. Remember to refer to the instruction manual and customize printer settings based on your preferences and filament requirements. Enjoy the limitless possibilities of 3D printing with the Anycubic Kobra 2 Pro! Here is firmware of Anycubic Kobra 2 Pro for your downloading.


