The Anycubic Kobra 2 Max streamlines the process of achieving larger prints at a faster pace. New optimizations have enhanced its appeal for large-format 3D printing for those who may have overlooked the original Kobra Max.
However, is it worth investing in for your prints, considering its need for a larger footprint and higher cost?
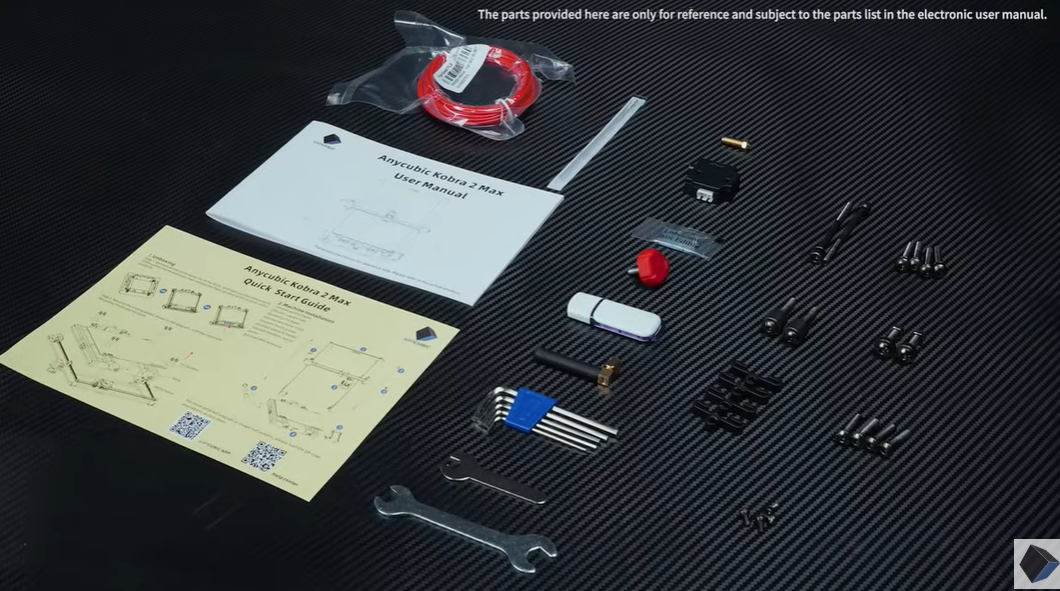
For enthusiasts of the original Anycubic Kobra Max, the Kobra 2 Max strives to enhance the printing experience with additional features that make larger-volume prints more accessible. Easy setup optimization, along with the LeviQ 2.0 automatic leveling and smart z-offset, removes many barriers to entry in the printing process.
Suppose you’re looking for a straightforward way to engage in quick large-format printing. In that case, the Kobra 2 Max offers an improved experience, provided you are willing to adapt to a few limitations.
Brand: Anycubic
Build Volume: ~16.5 x 16.5 x 19.7 inches (420 x 420 x 500 mm)
Connectivity: 3 x USB-A ports
Heated Build Plate: Yes (≤194F/90°C)
Feed Type: Double-gear direct extruder
Dimensions: 29.1 x 28.9 x 25.1 inches (740 x 735 x 640 mm)
Weight: ~46.3 lbs (21kg)
Pros:
- Built-in storage eliminates USB print interruptions
- Faster print speeds
- Large build volume
- Anycubic LeviQ 2.0 49-point auto-leveling (Smart Z-Offset) facilitates easy initial setup
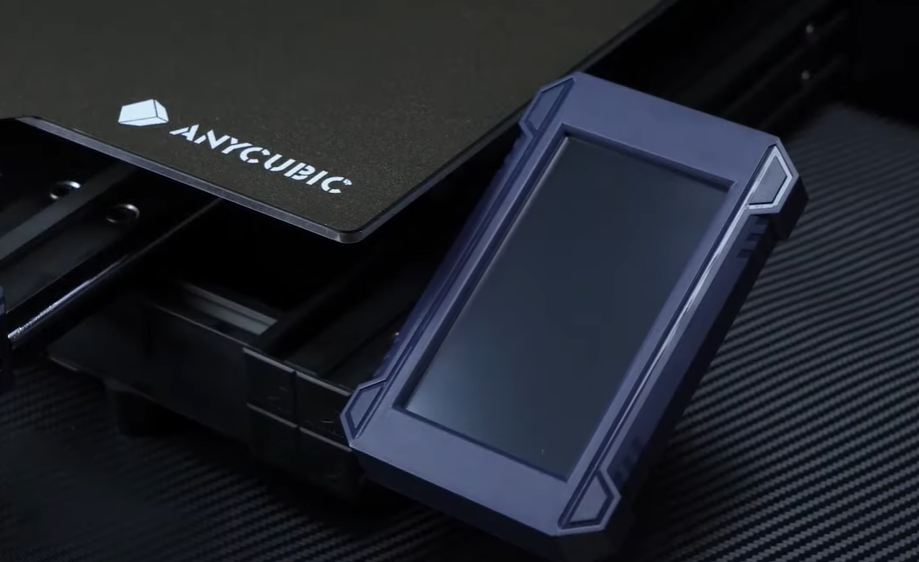
- Responsive 4.3” LCD touchscreen
- Multiple USB ports
Cons:
- Occasional small bugs and glitches
- Filament detectors can be oversensitive
- Requires a large, stable table space
Some Assembly Required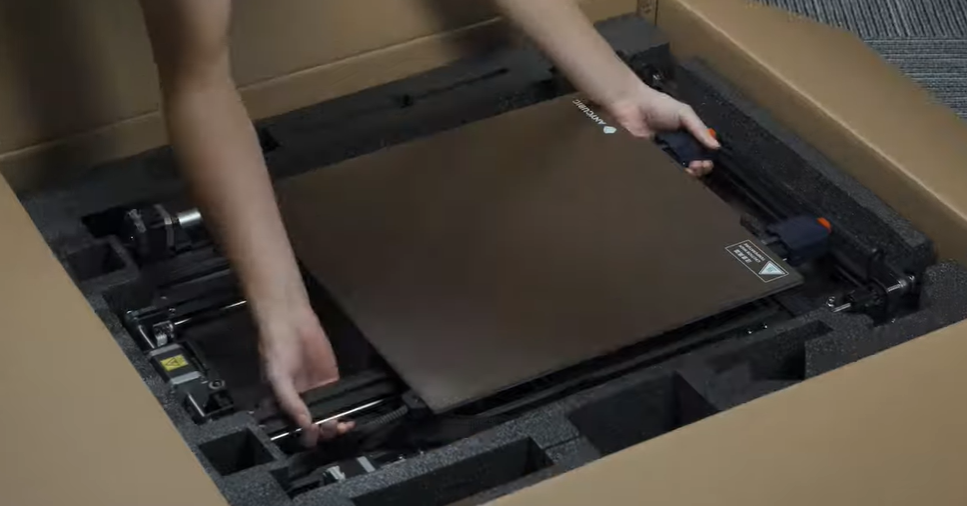
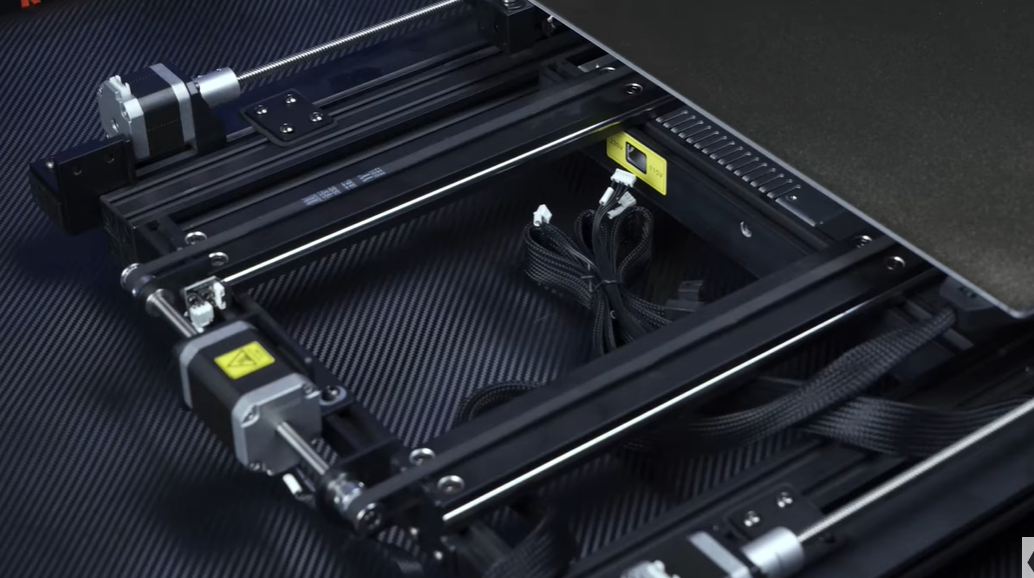
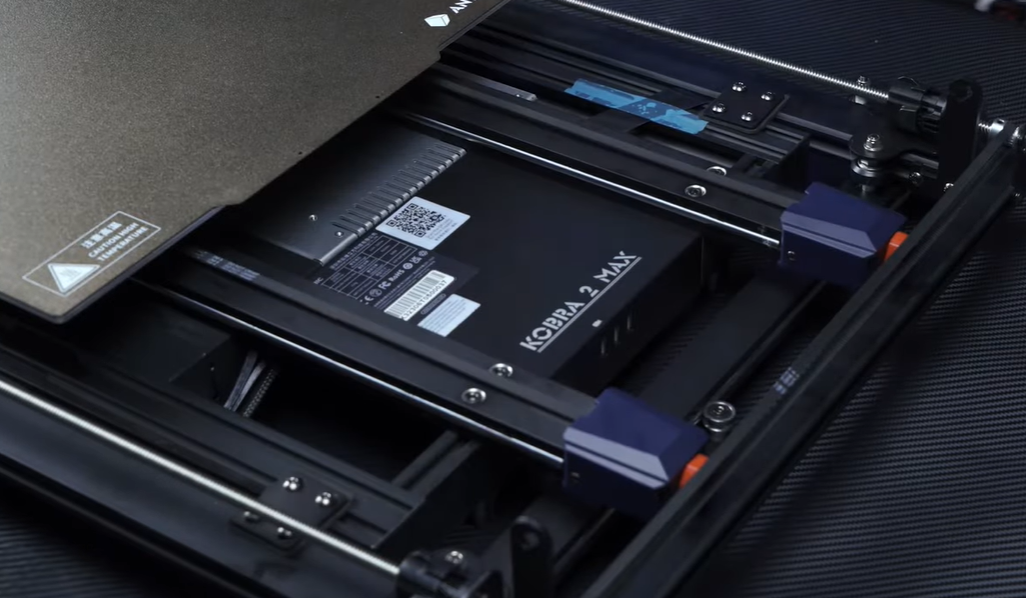
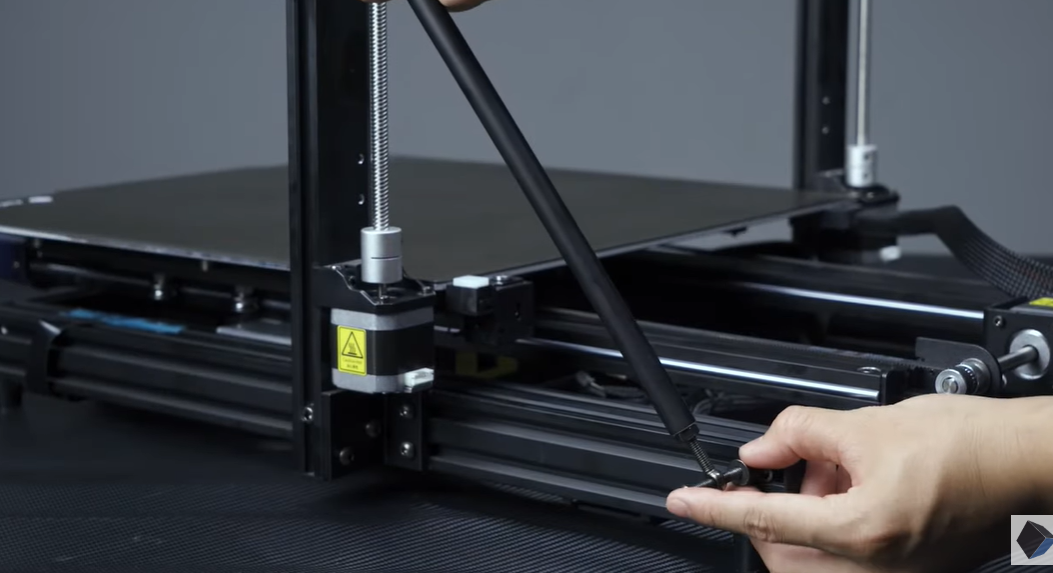
For those aiming to print with the Anycubic Kobra 2 Max rapidly, the DIY factor is significantly reduced compared to the Anycubic Kobra Go, although it won’t arrive fully assembled.
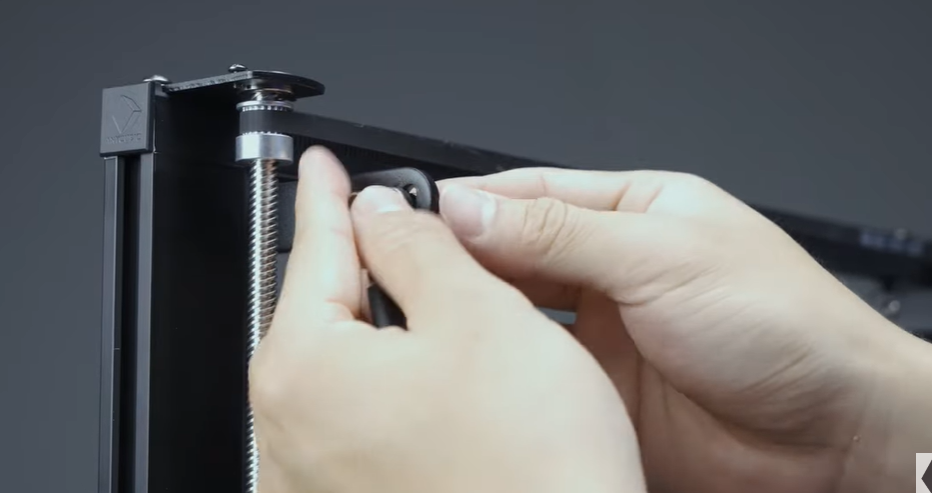
While the integrated body structure may not aid in learning how a 3D printer works, it results in a less intimidating setup. Despite limited part assembly, it is advisable to have a partner assist in installing the gantry frame and support rods.
Smaller attachments, such as the LCD screen and filament holder, become even easier upon completing the print head assembly. However, when addressing the filament run-out sensor, ensuring a secure fit is crucial to prevent potential snags in the filament loading process.
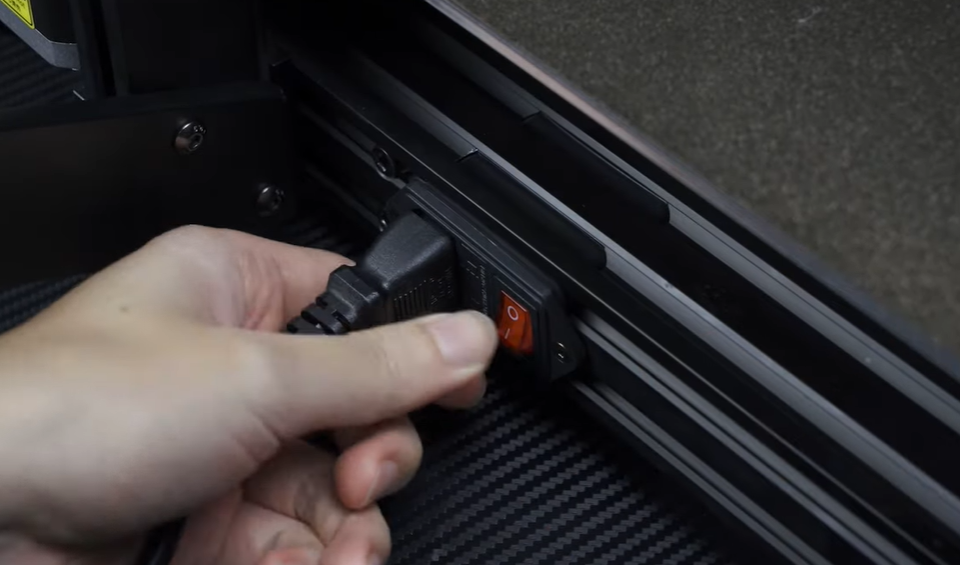
In the wiring stage, a simple push-in process is typical. Although the print head connection may be somewhat unfamiliar for first-timers, visual references provided by Anycubic’s included images can guide the fitting process.
After securing the cables and filament tube, it is essential to verify that everything sounds right and movements feel smooth when checking the print head and bed. Additionally, double-checking the belts’ tension can prevent issues like layer shifts and save you from potential headaches.
Technical Specs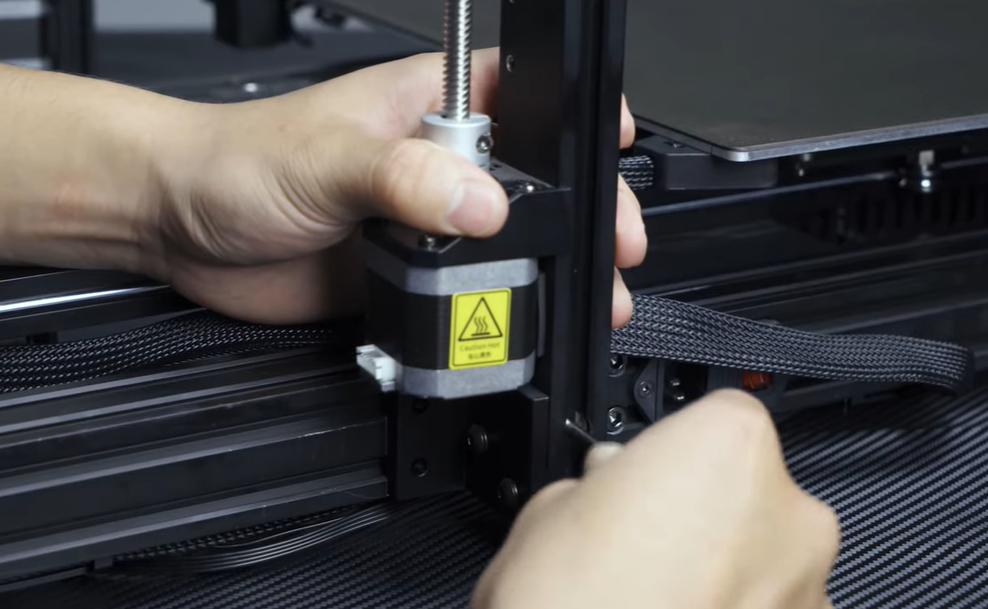
James Hirtz from MakeUseOf conducted a size comparison between Anycubic Kobra 2 Max and Kobra Go. The Kobra 2 Max, boasting a build volume of 420 x 420 x 500mm (~16.5 x 16.5 x 19.7 inches), surpasses the original Kobra Max, which had dimensions of 400 x 400 x 450mm. Potential buyers need to note that to accommodate its 88-liter print volume, the Kobra 2 Max performs optimally on a spacious table capable of accommodating its 29.1 x 28.9 x 25.1 inches dimensions and weight of approximately 46 lbs (21kg).
Apart from enhancements in print volume, the Kobra 2 Max exhibits significantly improved print speeds. It allows printing at a maximum speed of 500mm/s or the more conventional speed of 300mm/s, a notable upgrade from the original Kobra Max’s maximum of 180mm/s and standard speed of 80mm/s. This improvement is attributed to the on-board Cortex-A7 1.2GHz processor, which handles all necessary calculations.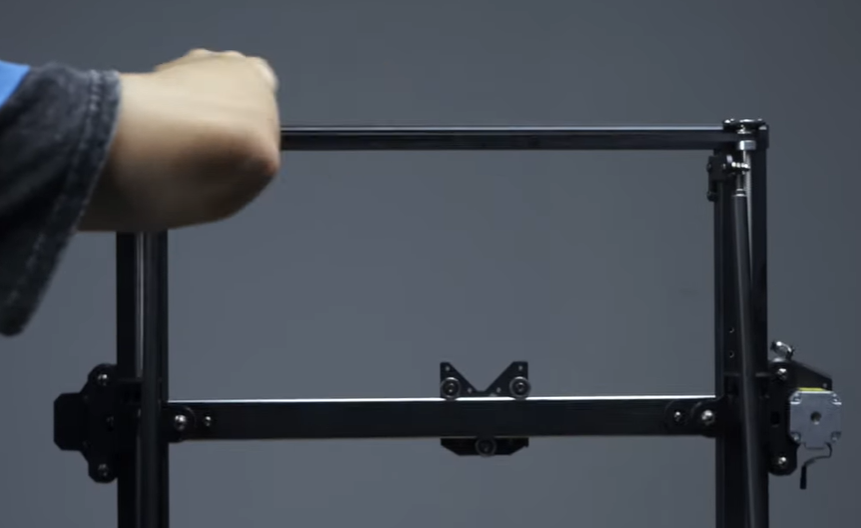
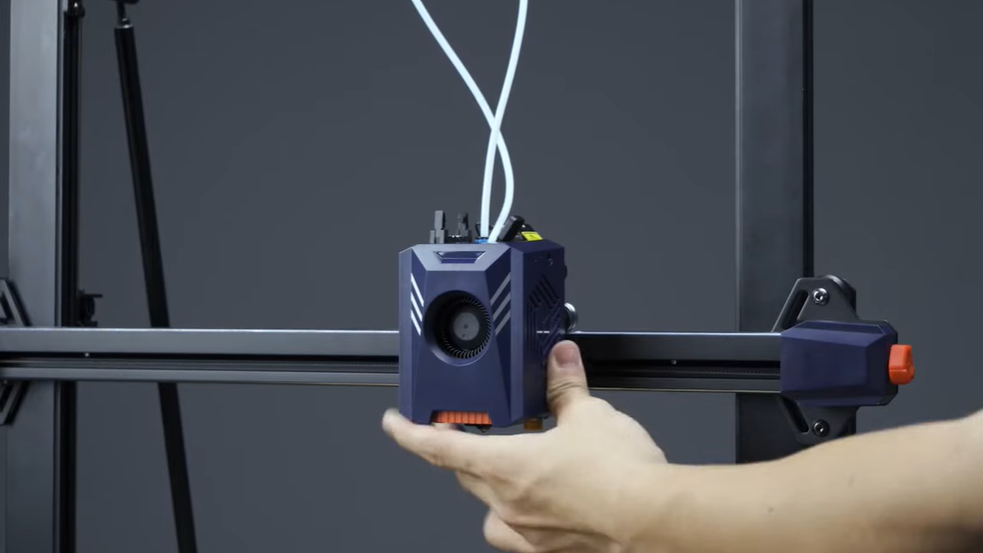
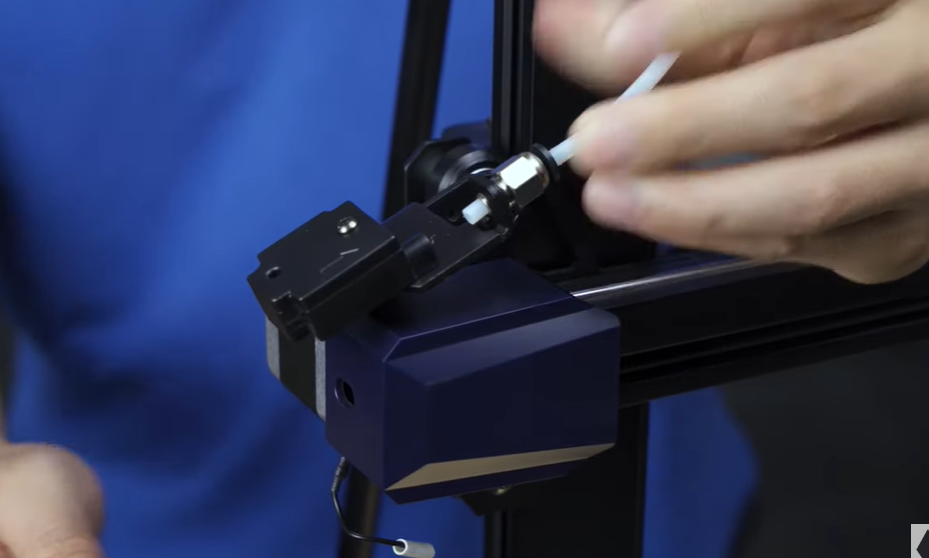
Anycubic has not only focused on speed but also on building enhancements for smoother prints in the Kobra 2 Max. The printer features a dual motor, double Z-axis set-up, double metal spindles, and SG15 bearings to ensure more stable printing. Additionally, the inclusion of a direct extruder with double gears provides a potential upgrade option for users who prefer not to use a Bowden extruder.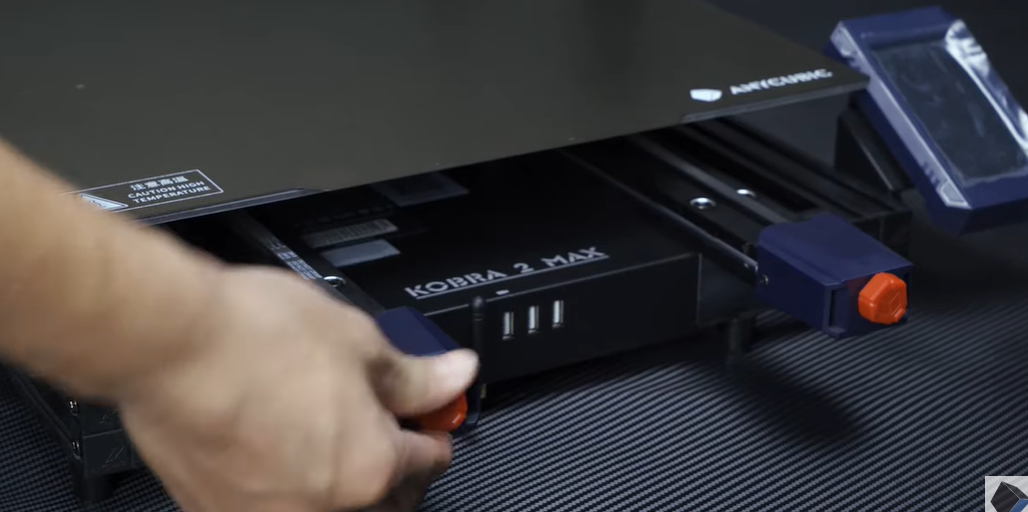
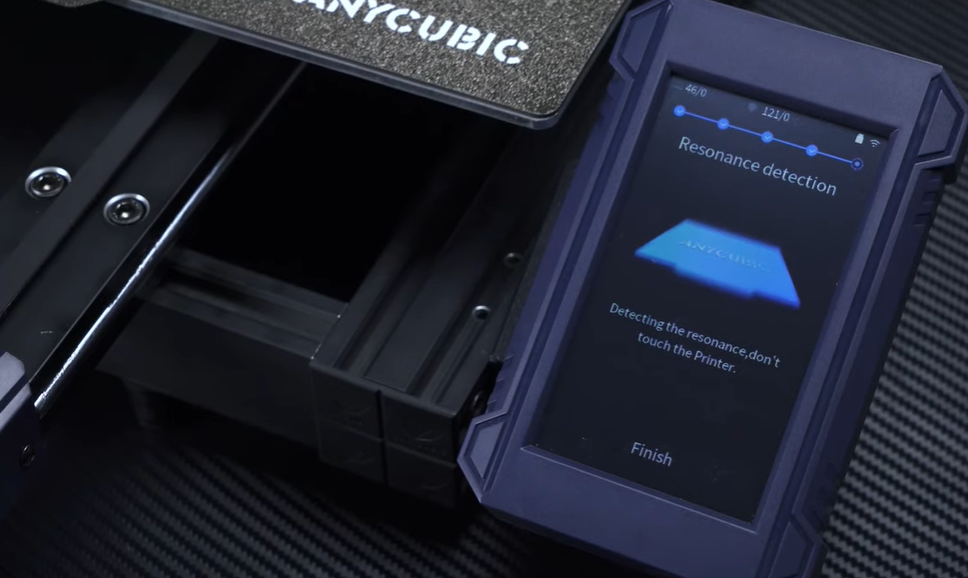
Regarding materials, the Kobra 2 Max supports PLA, ABS, PETG, and TPU. The direct extruder proves particularly beneficial for more flexible materials. For a simplified setup, the Kobra 2 Max incorporates an enhanced LeviQ 2.0 automatic leveling system with a smart Z-offset. The improved 49-point auto-leveling system, combined with resonance detection through test vibrations, prepares the printer for extended printing sessions and guards against banding.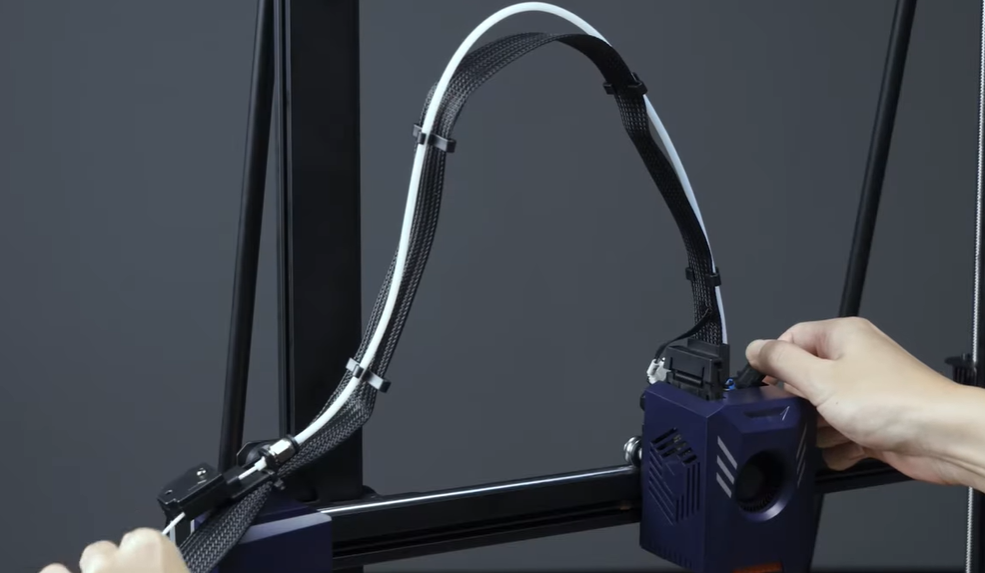
Although not available during the test window, the Kobra 2 Max will also feature support for the Anycubic app. This functionality enables users to access online printing and slicing, remote management, video monitoring, and more.
Touchscreen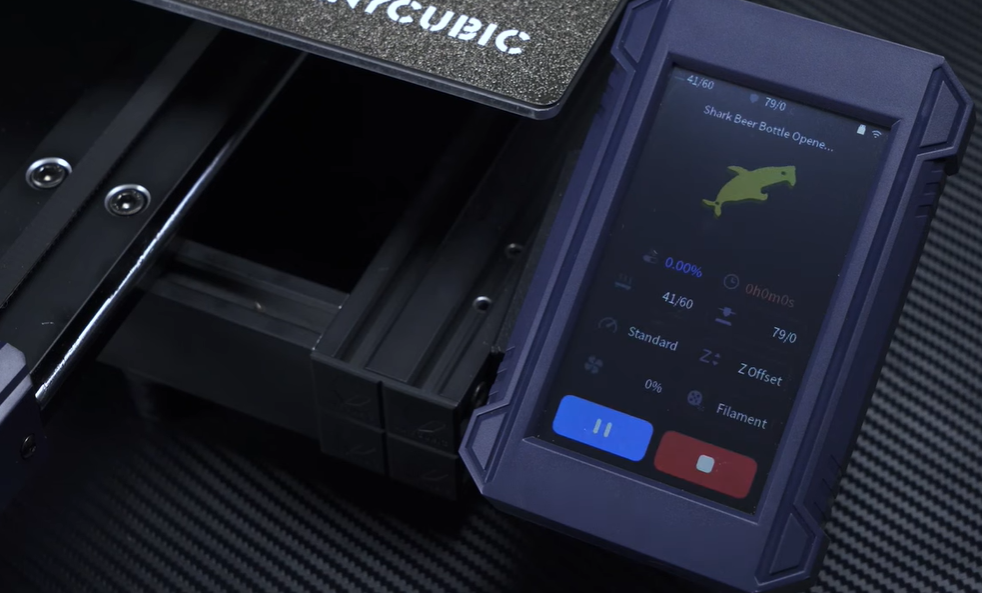
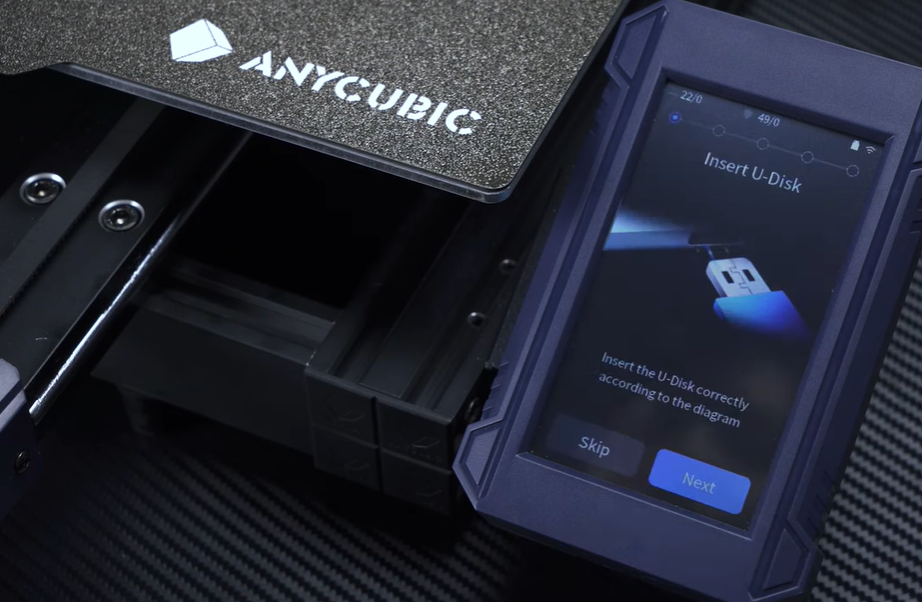
The Kobra 2 Max features a full-color 4.3-inch touchscreen. When you’re ready to initiate your first print, the machine will guide you through a straightforward setup process. This process includes inserting the provided USB drive, detecting each axis, auto-leveling, loading filament, and detecting resonance. This fully-prompted measure aims to prepare you as much as possible for a successful first print and is extremely easy for a beginner.
After completing the initial setup, you can commence printing from a small selection of test models stored locally on the Kobra 2 Max. While everything is heating up, you have ample time to navigate through all the settings and experience the touchscreen’s responsiveness. It’s advisable to perform a few test prints before delving into a slicer. This allows you to perceive the differences in results among stable, standard, and sport print speeds, and to check and fine-tune the Z-offset (the distance between the print head and the bed, determining the first layer “squish”).
Overall, the touchscreen is highly responsive; the stop button reacts promptly in case of any issues.
Once you’ve transferred the G-code to your USB stick, the Kobra 2 Max will transfer it to the printer’s local storage. While it’s important to monitor the storage space over time, deleting files as needed is a straightforward process. This is a minor yet helpful feature, particularly when repeating prints without relying on the original USB drive.
Anycubic Slicer
James Hirtz from MakeUseOf presents the Anycubic Slicer interface. During our test window, Ultimaker Cura was not ready as a slicing software option. Instead, we utilized Anycubic Slicer—a custom version of PrusaSlicer.
Transferring projects between the two slicers would sometimes result in the exported code carrying over incorrect print settings. Therefore, we primarily conducted our testing in one of the slicers to identify any significant distinctions. As is customary with Anycubic’s software, their version seems a bit more basic and simplified, but the overall process and setting tweaks felt nearly identical.
If you are dealing with models that do not require extensive customization or preparation in terms of support, you will find Anycubic Slicer to be sufficient. Regardless of the slicer you choose, it is advisable to seek Anycubic’s suggested parameter profiles and import them into the selected slicer. Subsequently, it becomes much easier to adjust and customize your settings based on your familiarity level.


