The Flsun S1 3D printer is a cutting-edge machine designed for both hobbyists and professionals. With its advanced features and high precision, it offers a versatile and efficient 3D printing experience. This guide will take you through the setup, calibration, and printing process to help you get the most out of your Flsun S1.
Unboxing and Setup
What’s in the Box
When you unbox your Flsun S1, you should find the following components:
- Flsun S1 3D printer
- Power cable
- USB cable
- Filament spool
- Tools for assembly and maintenance
- User manual and quick start guide
Assembly
The Flsun S1 comes partially assembled. Follow these steps to complete the setup:
- Attach the Frame: Secure the full-metal frame using the provided screws and tools.
- Install the Build Plate: Place the textured PEI print plate onto the heated bed and secure it.
- Connect the Extruder: Attach the dual-gear direct drive extruder to the effector.
- Connect Cables: Connect all necessary cables to their respective ports, ensuring they are securely attached.
- Power Up: Plug in the power cable and turn on the printer.
Initial Calibration
Before you start printing, you need to calibrate your Flsun S1 to ensure accurate prints.
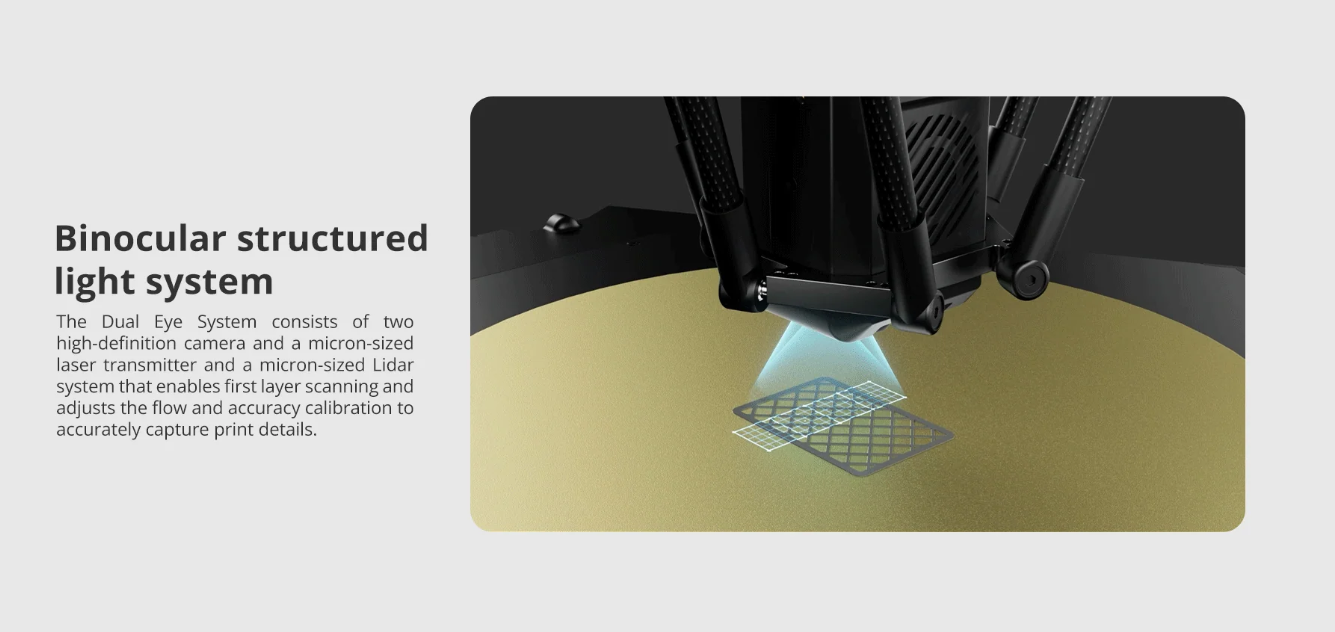
- Auto-Leveling: Utilize the auto-leveling feature to level the bed. The AI Lidar Detection system will assist in the first layer detection and ensure a perfectly level bed.
- Nozzle Height: Adjust the nozzle height using the touchscreen interface. The recommended layer height is between 0.1mm and 0.35mm.
- Flow Calibration: Calibrate the flow rate to ensure the correct amount of filament is extruded.
- Accuracy Calibration: Use the touchscreen interface to calibrate the accuracy of the printer’s movements.
Preparing for Printing
Loading Filament
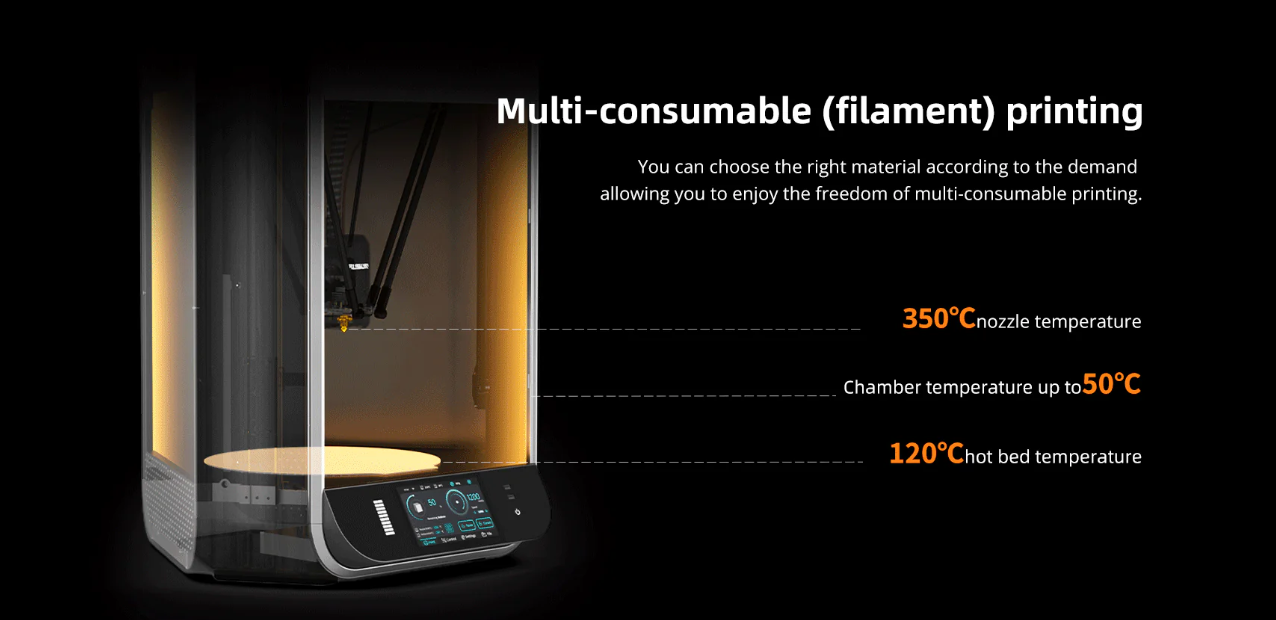
- Filament Type: The Flsun S1 supports various filament types, including PLA, PETG, TPU, ABS, ASA, PVA, PET, PA, PC, and PLA-CF.
- Load Filament: Insert the filament into the dual-gear direct drive extruder and feed it until it reaches the nozzle.
- Filament Detection: The printer’s filament detection system will confirm that the filament is correctly loaded.
Slicing Your Model
- Choose a Slicer: You can use the Flsun Slicer or third-party slicers compatible with the printer.
- Import Model: Import your 3D model file (STL, OBJ, AMF, 3MF).
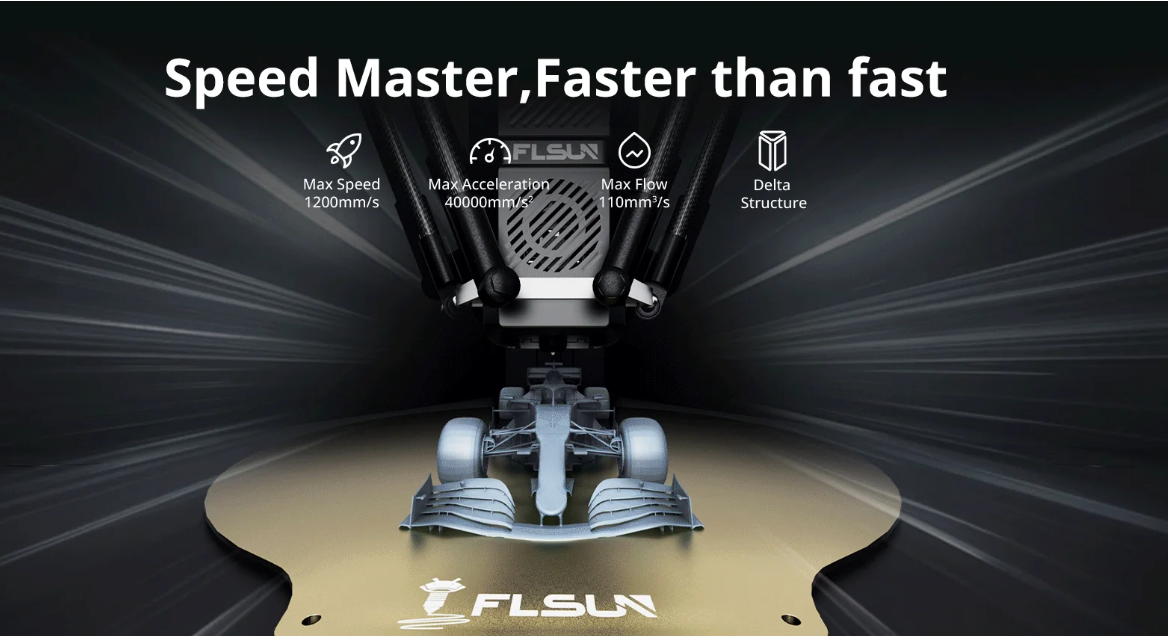
- Configure Settings: Adjust settings such as layer height, print speed, and infill density. For optimal performance, consider the printer’s max speed of 1200mm/s and acceleration of 40000mm/s².
- Generate G-code: Slice the model to generate the G-code, which is the file format the printer reads.
Starting Your Print
- Transfer File: Use the 16GB EMMC or 32GB USB flash storage to transfer the G-code to the printer.
- Preheat Bed and Nozzle: Preheat the bed to a maximum of 120℃ and the nozzle up to 350℃ as required by your filament type.
- Print: Start the print from the touchscreen interface or PC. The printer’s camera with 1920 × 1080 pixels allows for real-time monitoring.
During the Print
Monitoring and Adjustments
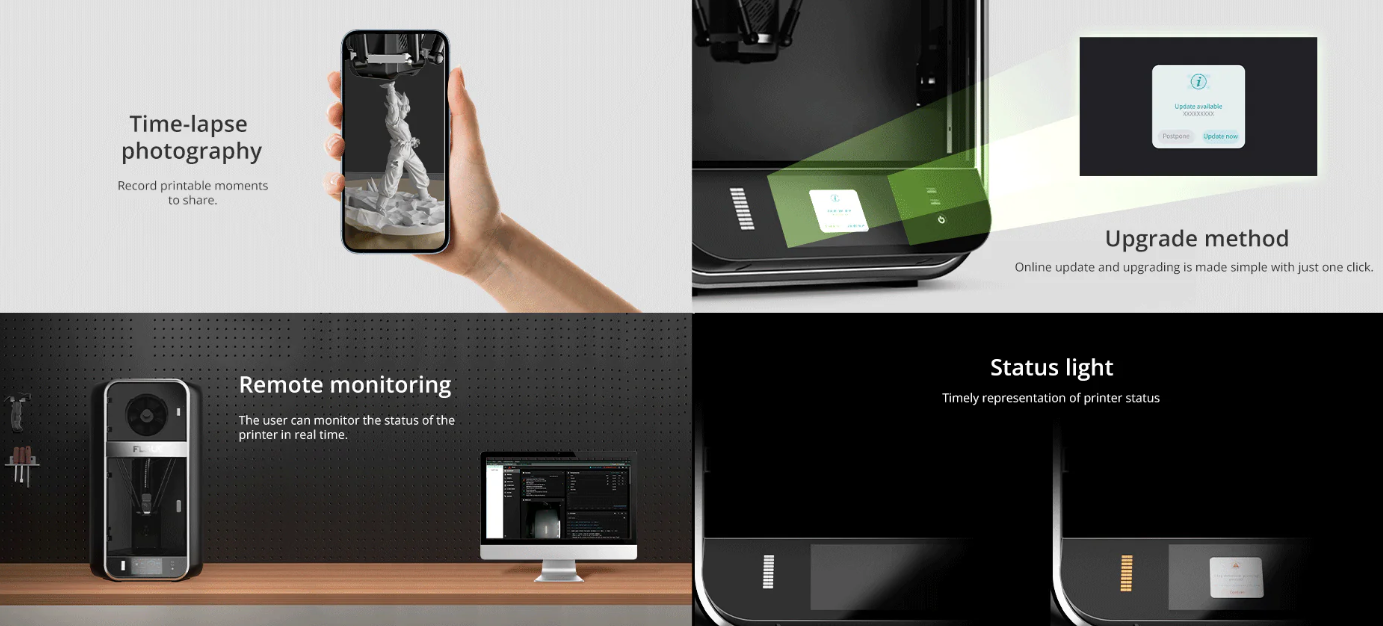
- Real-Time Monitoring: Use the camera to monitor the print process.
- Filament Detection: The printer will automatically pause if it detects the filament is running low or clogged.
- Debris Detection: The AI features can detect debris and other issues during the print.
- Spaghetti Detection: The printer can detect and stop in case of spaghetti-like filament mess.
Smart Features
- Vibration Compensation: Ensures stable and accurate printing.
- Power Off Resume: If the power goes off, the printer will resume printing from where it left off once the power is restored.
- Time-Lapse Photography: Capture the progress of your print with time-lapse photography.
Post-Printing
Removing the Print
- Cool Down: Allow the build plate to cool down to avoid damaging your print.
- Remove Print: Carefully remove the print from the textured PEI print plate.
Maintenance
- Clean Nozzle: Regularly clean the hardened steel nozzle to prevent clogs.
- Check Bed Leveling: Periodically check and re-level the bed if necessary.
- Inspect Moving Parts: Ensure all moving parts are free of debris and properly lubricated.
Software and Firmware Updates
- OTA Updates: Keep your printer’s firmware up to date with Over-The-Air (OTA) updates. This ensures you have the latest features and improvements.
Conclusion
The Flsun S1 3D printer is a powerful and versatile tool for creating high-quality 3D prints. By following this guide, you’ll be able to set up, calibrate, and maintain your printer effectively, ensuring optimal performance and longevity. Whether you’re printing prototypes, functional parts, or artistic pieces, the Flsun S1 will deliver precise and reliable results. Available at the official website of Flsun at Just $1,499.00.
Read Also: Flsun S1 3D Printer VS FLSUN T1 3D Printer Comparison Review


