Introduction:
The Anycubic Kobra 2 Max is an advanced 3D printer that offers exceptional performance and versatility. In this comprehensive guide, we will take you through the process of unboxing, setting up, and effectively utilizing the Anycubic Kobra 2 Max to bring your creative ideas to life. Let’s get started!
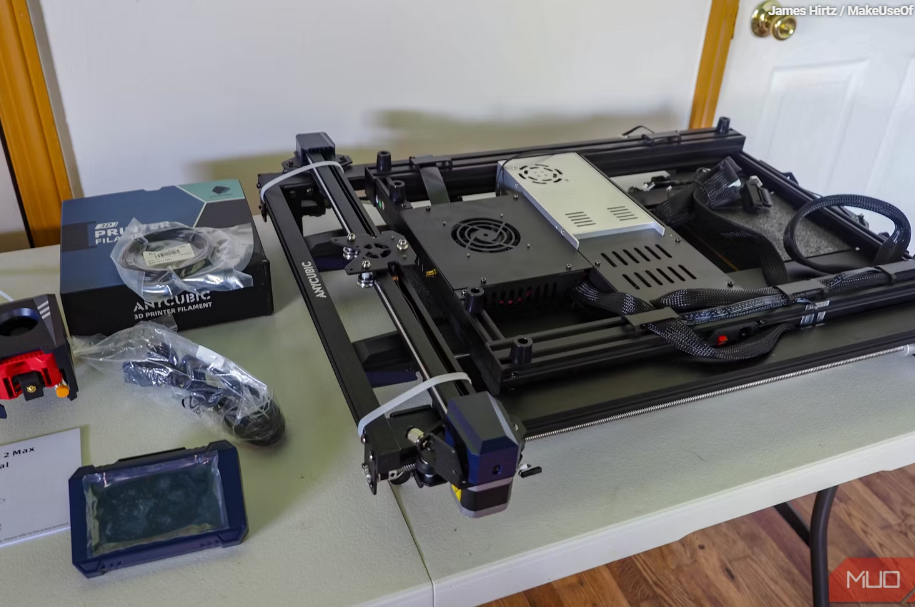
- Unboxing and Inspection:
- Carefully unbox the printer and ensure all components are present and undamaged.
- Inspect each component for defects or missing parts.
- Refer to the user manual to understand the different components and their functions.
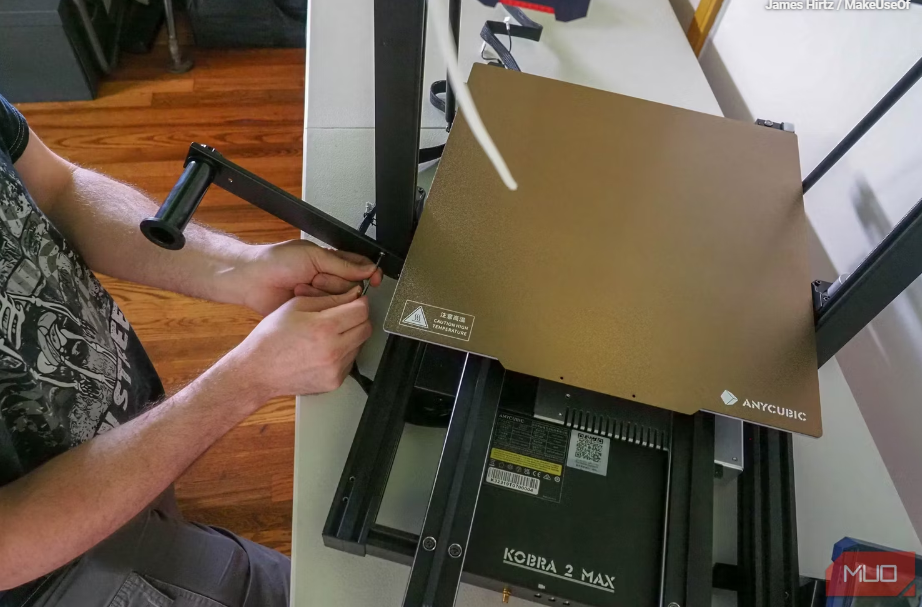
- Assembly:
- Follow the assembly instructions provided in the user manual.
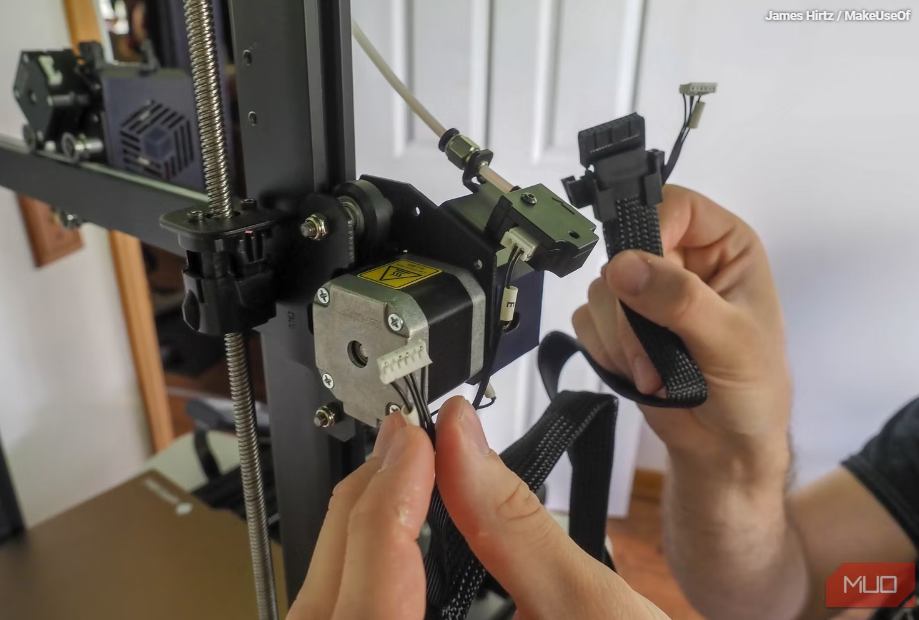
- Attach the gantry, install the filament holder, and connect the cables and connectors.
- Ensure all parts are properly aligned and tightened.
- Leveling the Bed:
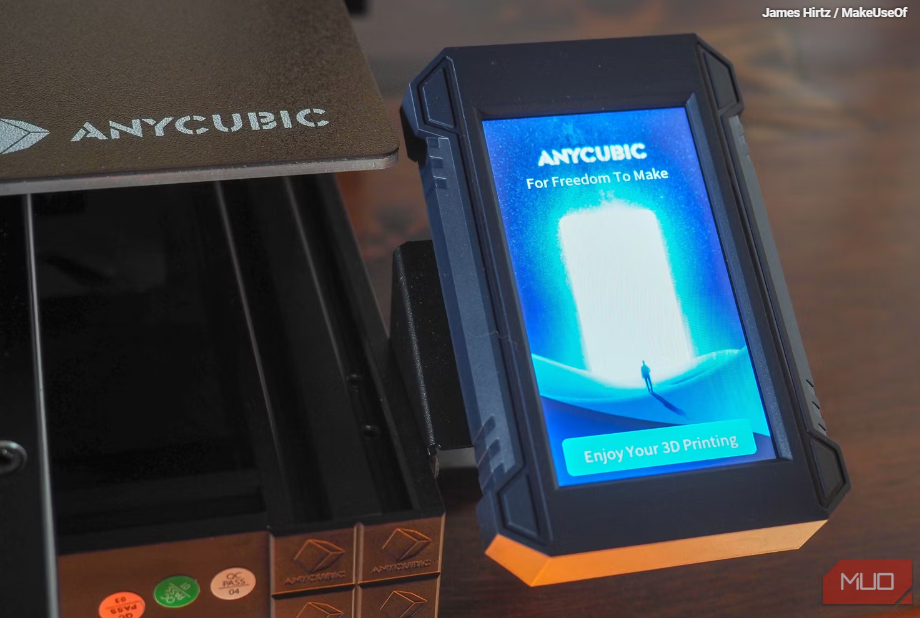
- Power on the printer and navigate to the menu on the color touchscreen.
- Select “Prepare” and then “Leveling” to start the automatic bed leveling process.
- Follow the on-screen instructions to adjust the leveling knobs until the bed is level.
- Save the settings once the leveling process is complete.
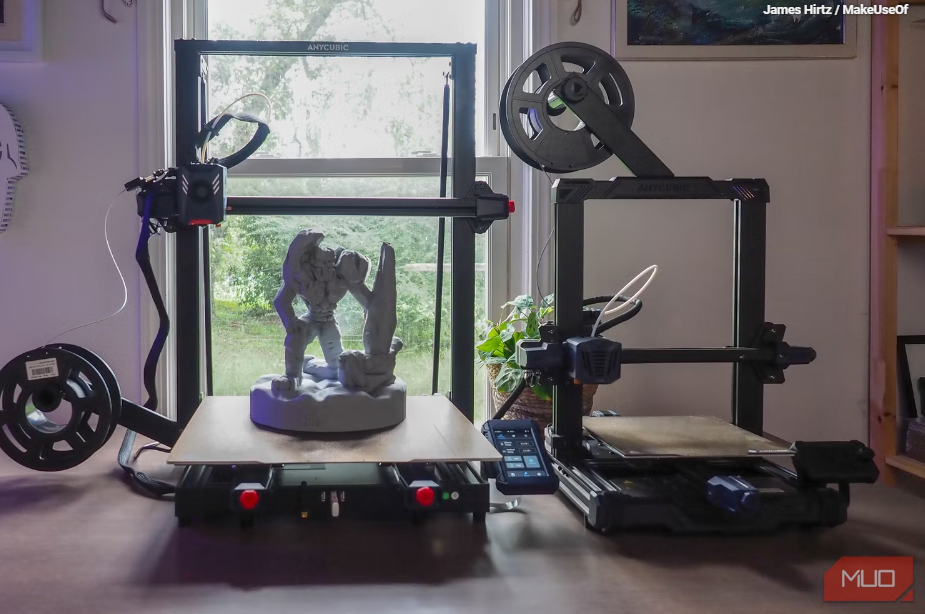
- Loading Filament:
- Preheat the printer by selecting “Preheat” from the “Prepare” menu.
- Wait until the desired temperature is reached.
- Insert the filament into the filament input port.
- Gently push the filament until it feeds into the extruder and extrudes from the nozzle smoothly.
- Select “Stop” in the menu to stop the extrusion.
- Software Setup and Slicing:
- Download and install slicing software like Cura or Simplify3D on your computer.
- Open the software and configure the printer settings, including print speed, temperature, and filament diameter.
- Import or design your 3D model in the slicing software and adjust the printing parameters.
- Slice the model and export it as a G-code file compatible with the Kobra 2 Max.
- Printing:
- Insert the G-code file into an SD card and insert it into the printer’s card slot.
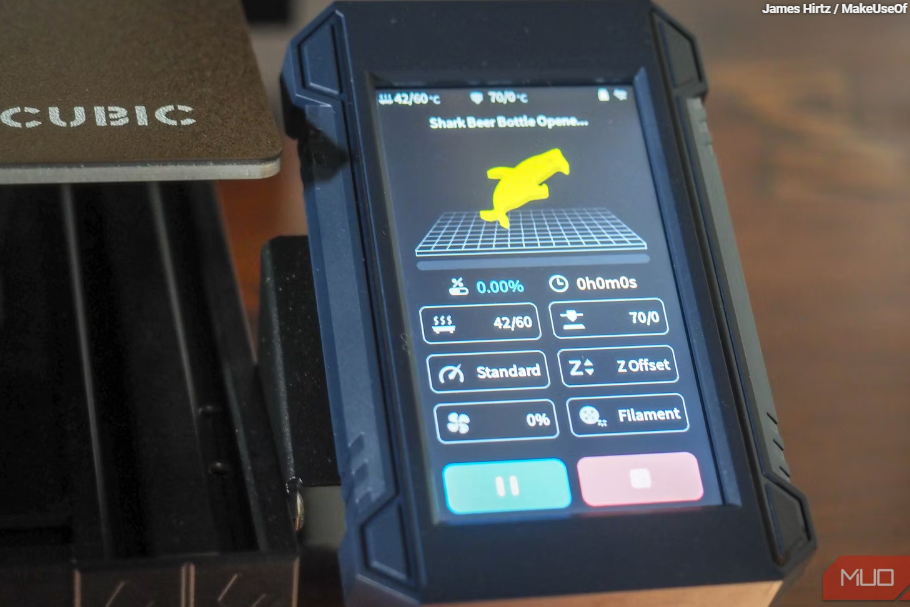
- On the touchscreen, go to the “Print” menu and select “Print from SD card.”
- Locate and select the desired G-code file to start the printing process.
- Monitor the print progress and make any necessary adjustments during printing.
- Post-Printing:
- Once the print is complete, carefully remove the object from the bed.
- Clean the print bed and remove any residual filament using a spatula or scraper.
- Store the filament in a dry and cool place.
Remember to consult the user manual for specific instructions and recommendations for your Anycubic Kobra 2 Max printer.


