Recording sound on a computer is a simple process that can be done using various methods. Whether you want to record an online meeting, a podcast, a voiceover, or a music track, there are several ways to capture sound on your computer. In this article, we will discuss some of the most common methods for recording both internal and external sound on a computer.
Record Internal & External Sound on My Computer
Whether you are a YouTuber, a podcaster, or simply want to record a meeting or conversation, being able to capture both internal and external sound on computer is essential. In this case, you should use a professional sound recording software to meet your specific demands.
Among the most useful screen recorders with audio in 2023, Gemoo Recorder is worth your trying. As it supports recording screen, internal audio, external audio, microphone sound, and microphone simultaneously or individually, you can determine what you want to record.
Here is how to use Gemoo Recorder to record both internal and external sound on your computer.
Step 1. Free install Gemoo Recorder on your computer and sign in to the welcome page. Choose the Screen Only mode and choose Microphone & System Audio under More Settings.
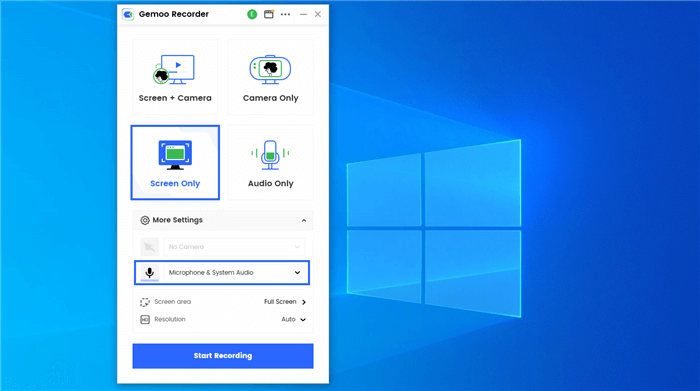
Tap on the Screen Only Mode
Step 2. Go to the interface you need to record and annotate your recording if you need to highlight your insights.
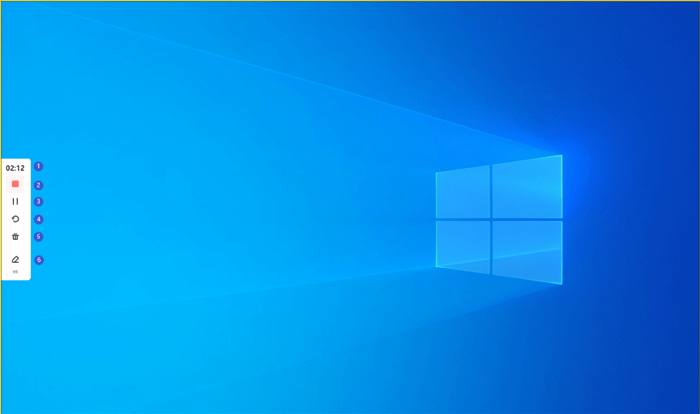
Start to Record Screen with Internal and External Sound
Step 3. When you finish recording, click on the Red Stop button to stop and save your recordings.
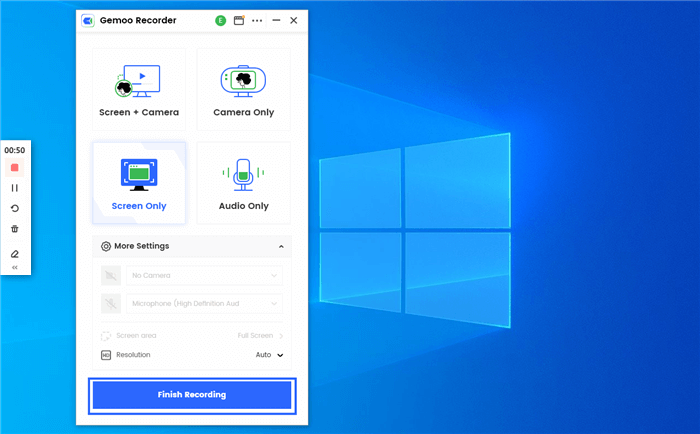
Finish Recording
Record Internal Sound on My Computer
Most laptops and desktop computers come with a built-in microphone that can be used to record sound. To use these methods, you need to open the sound recorder application on your computer.
For Windows Users
If you’re running Windows 10, you can use the built-in Voice Recorder app to record internal sound. You can find the Voice recorder app by searching for it in the Start menu. Here’s how to use Voice Recorder to record internal sound on Windows.
Step 1. Open the Voice Recorder app from the Start menu.
Step 2. Click the microphone icon to start recording.
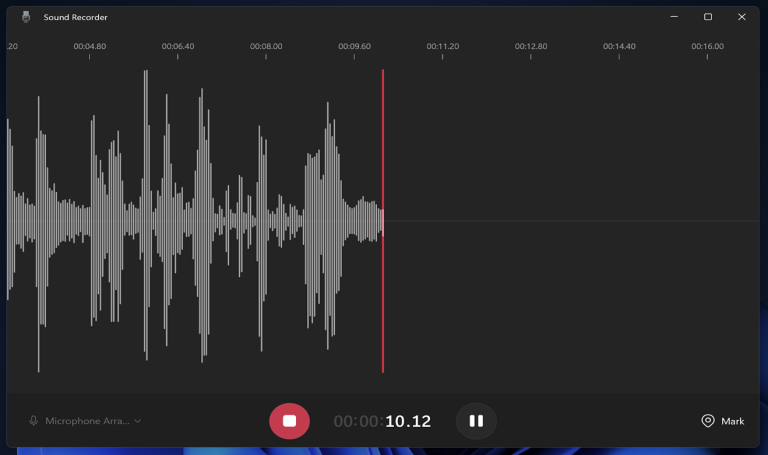
Step 3. To stop recording, click the stop icon.
Step 4. Your recording will be saved to the Voice Recorder app.
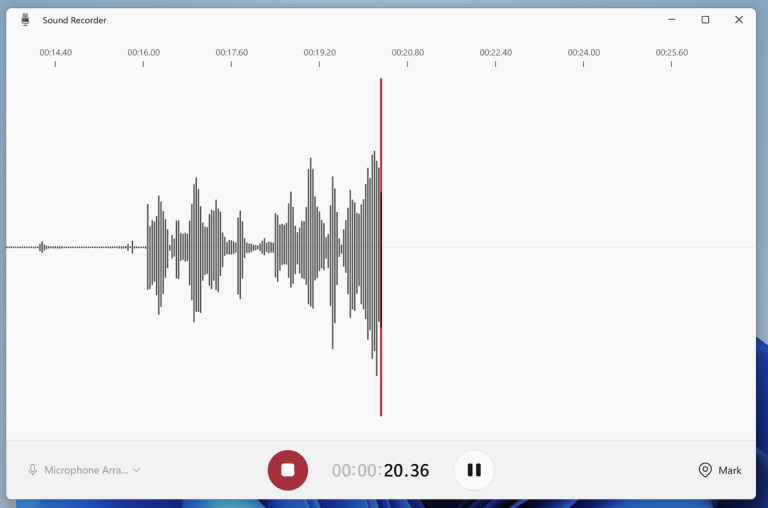
Note: This method only works for recording sound from your microphone and internal speakers. If you want to record sound from a specific application, you’ll need to use a different method.
For Mac Users
Recording internal sound on Mac can be a bit tricky, but with the tool we’ve shown you, it’s definitely possible. QuickTime Player is the easiest and most straightforward method.
QuickTime Player is a built-in app on Mac that allows you to record your screen and internal sound. Here’s how to use it to record internal sound:
Step 1. Open QuickTime Player from the Applications folder.
Step 2. Click on “File” in the menu bar and select “New Screen Recording.”
Step 3. Click on the arrow next to the record button and select “Internal Microphone.”
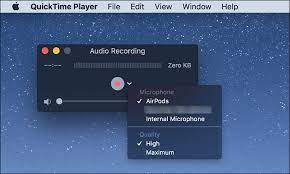
Step 4. Click on the record button and start playing the sound you want to record.
Step 5. When you’re done, click on the stop button in the menu bar.
Step 6. Save the recording by clicking on “File” and selecting “Save.”
Record External Sound on My Computer
If you want to record high-quality external sound, you can use an external microphone. There are various types of external microphones available, such as USB microphones, XLR microphones, and wireless microphones. To use an external microphone, you need to connect it to your computer using a USB cable or an audio interface.
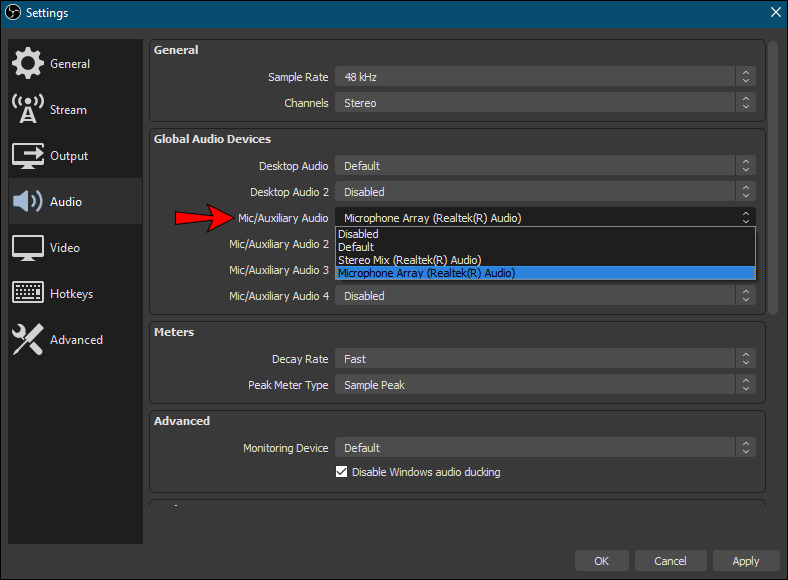
Once you have connected the microphone, select it as the input device in the sound recorder app. Then, click on the record button to start recording. Speak or play the sound you want to record, and when you are done, click on the stop button. You can then save the recorded sound as an audio file on your computer.
For Windows Users
OBS Studio is another free and open-source software that is primarily used for live streaming and video recording. At the same time, it can also be used to record external sound on Windows. To use OBS Studio, simply download and install the software, connect your external source to your computer, and start recording.
For Mac Users
GarageBand is another built-in app on your Mac that can be used to record audio. Here’s how to use it:
Step 1. Open GarageBand from your Applications folder.
Step 2. Click on File > New Project.
Step 3. Choose “Empty Project” and click on “Choose.”
Step 4. Click on the “+” button in the bottom left corner of the screen and choose “Audio Recorder.”

Step 5. Click on the red record button to start recording.
Step 6. When you’re finished recording, click on the stop button.
Step 7. Save your recording by clicking on File > Save.

Tips for Recording Sound on Your Computer
By the end of the article, we will offer you some tips for recording sound on your computer.
- Use a high-quality microphone or audio input device for the best sound quality.
- Make sure your recording software is set to the correct input source (internal or external).
- Test your recording settings before starting to ensure that the sound is being captured properly.
- Use headphones to monitor the sound while recording to avoid feedback or other issues.
- Consider using a pop filter or windscreen to reduce background noise or unwanted sounds.
Final Thoughts
In conclusion, recording sound on a computer is a simple process that can be done using various methods. Whether you use the built-in microphone, an external microphone, or a third-party tool, make sure to select the right input device and record in a quiet environment for the best results.


